
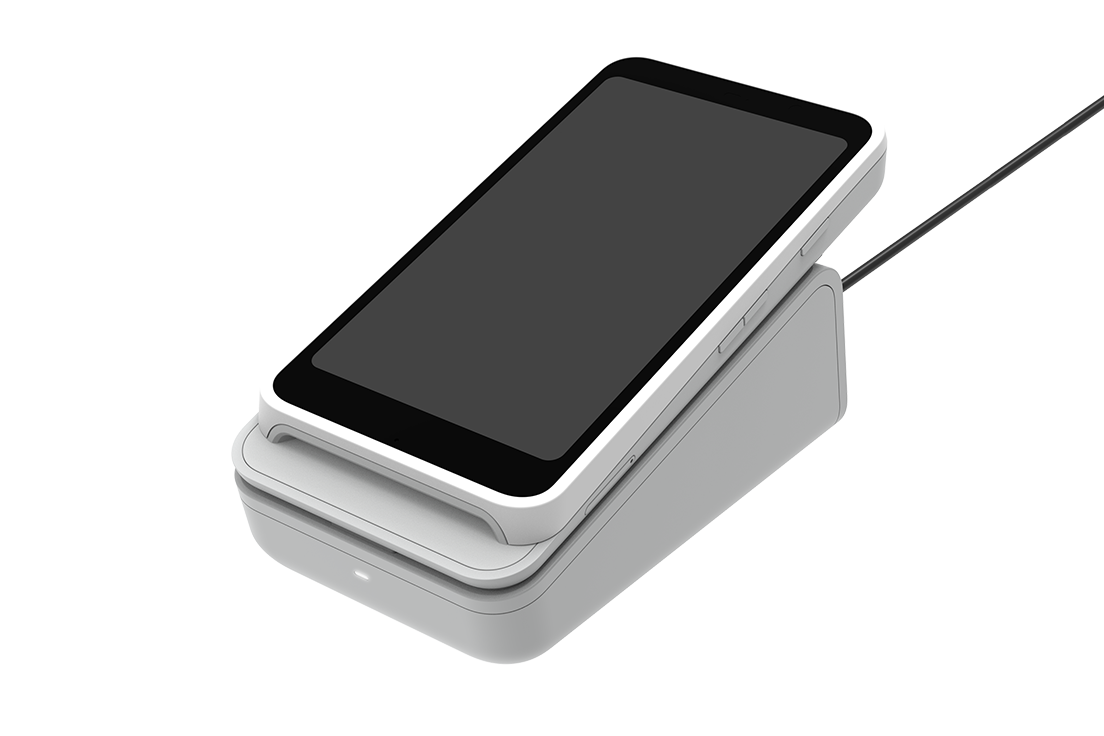
This guide is for setting up your Molo Express Card Reader for the S710 pictured below.
Setting Up the Reader
Connect the provided USB-C cable into the port on the left side of the reader.
Connect the opposite end of the USB-C cable to the provided power adapter and plug it into a power outlet.
The Stripe Reader S710 requires a minimum of 12W of power to operate properly. Use the included Stripe power adapter to ensure full charging capability.
Hold down the power button on the right side of the reader until the screen turns on.
Place the reader into the dock (if included) for a stable countertop setup.
Note: Leave the reader plugged in and powered on whenever possible — even when not in use — so it can receive automatic software updates overnight.
Initial Pairing of the Reader to Molo
Once the reader powers on, select the applicable language.
From there, the reader will display a screen with Register this reader and a three word code.
Open Molo, navigate to Admin Settings → Hardware → Molo Terminals.
Click Add New Terminal.
Give the terminal a name (e.g., Fuel Dock or Front Desk Terminal) and enter the registration code exactly as it appears on the reader and select Done.
Once the pairing is successful, select Make My Default Terminal so Molo uses it as the default for payments.
The reader will load a new screen, reconnect to the network, and begin its startup sequence
Connect to the Internet
The Stripe Reader S710 requires an active internet connection via Ethernet (preferred) or WiFi.
Ethernet (Preferred)
Ethernet is the most reliable connection method for the reader and requires the optional S700/S710 Hub, sold separately.
Connect one end of an Ethernet cable to your router and the other end into the LAN port on the Hub.
Connect the Hub to power using its built-in USB-C cable. Use the power adapter included with your Stripe Reader S710 to ensure the Hub receives enough power (27W) for the reader and any attached peripherals.
Connect the USB-C cable (provided with the reader) from the Hub to the reader — the right-angle connector end plugs into the reader.
Confirm Ethernet connectivity by checking the reader's status bar for the Ethernet icon and verifying the reader is charging.
The reader obtains an IP address using DHCP. As soon as the network cable is detected, the reader will attempt to establish communication with Stripe.
Note: If you want the reader to continue working when removed from the dock, complete the WiFi steps below as a fallback.
WiFi
When the reader is docked and the Hub is connected via Ethernet, it will prioritize the wired connection over WiFi.
Open Settings by swiping your finger from the left edge to the right of the screen.
Tap Settings and enter the Admin PIN: 07139.
Tap WiFi Settings.
Select the WiFi network you want to connect to and enter the password.
Important: The reader and the computer or device running Molo must be on the same network. Do not connect the reader to a Guest or Public WiFi network.
Checking WiFi Connection
Open Settings by swiping from the left edge to the right.
Tap Settings and enter the Admin PIN: 07139.
Tap WiFi Settings.
Running a Test Transaction
Once the startup sequence completes, run a quick test to confirm everything is working:
In Molo, enter transaction details and navigate to Take Payment → Credit Card.
On the next screen, click Use Molo Terminal.
The Molo Express Reader Active window appears.
If Chrome shows a prompt to find devices on local networks, select Allow so Molo can process payments on the reader.
Review the Card Terminal confirm that the amount due appears on the reader.
From here, you can hit cancel in Molo and then Void the Invoice in the POS Screen [Actions > Void]
Your reader is now connected to Molo. If other users or devices will use this reader, have them navigate to Admin Settings → Hardware → Molo Terminals, select the reader and then click Make My Default Terminal
Additional Notes
- Accessories: Ethernet connectivity requires the optional S700/S710 Hub, which provides a 10/100M LAN port, two USB-A ports for peripherals (barcode scanners, printers), and passes power through to the reader via a built-in 6-foot USB-C cable. The Hub is compatible with the S700/S710 Dock for full countertop deployments. Both are available to order through the Stripe Dashboard.
- Battery life: With a full charge, the reader battery lasts approximately 15 hours. For countertop deployments, leaving the device plugged in at all times is recommended.
- Screen timeout: The screen times out after 1 hour by default when not connected to power. To adjust this, go to Settings → Appearance → Screen Timeout.
- Network requirements: The Stripe Reader S710 must meet the following network conditions to function properly:
Your network must support IPv4 (IPv6-only networks are not supported).
The reader must be assigned a private IP address.
Both the reader and your Molo point of sale device must be able to connect to Stripe's infrastructure.
WiFi networks must use WPA/WPA2/WPA3-Personal or WPA2/WPA3 EAP-PEAP Enterprise encryption and must be password protected.
WiFi 6 (802.11ax) is not supported.
Ethernet networks must support 10/100 Ethernet devices.
If your network uses dynamic IP assignment, the DHCP server must allow the reader to retain the same IP address for at least an entire workday.
The reader and your Molo POS device must be on the same local network and able to communicate directly with each other.
Pairing the Reader to Molo
On the reader, open Settings by swiping from the left edge to the right.
Tap Settings and enter the Admin PIN: 07139.
Confirm the reader is connected to your network (WiFi or Ethernet).
Tap Generate pairing code and note the registration code displayed on screen, including the dashes.
In Molo, navigate to Admin Settings → Hardware → Molo Terminals.
Click Add New Terminal.
Give the terminal a name (e.g., Fuel Dock or Front Desk Terminal) and enter the registration code exactly as it appears on the reader.
Select Make My Default Terminal so Molo uses it as the default for payments.
The reader will load a new screen, reconnect to the network, and begin its startup sequence.